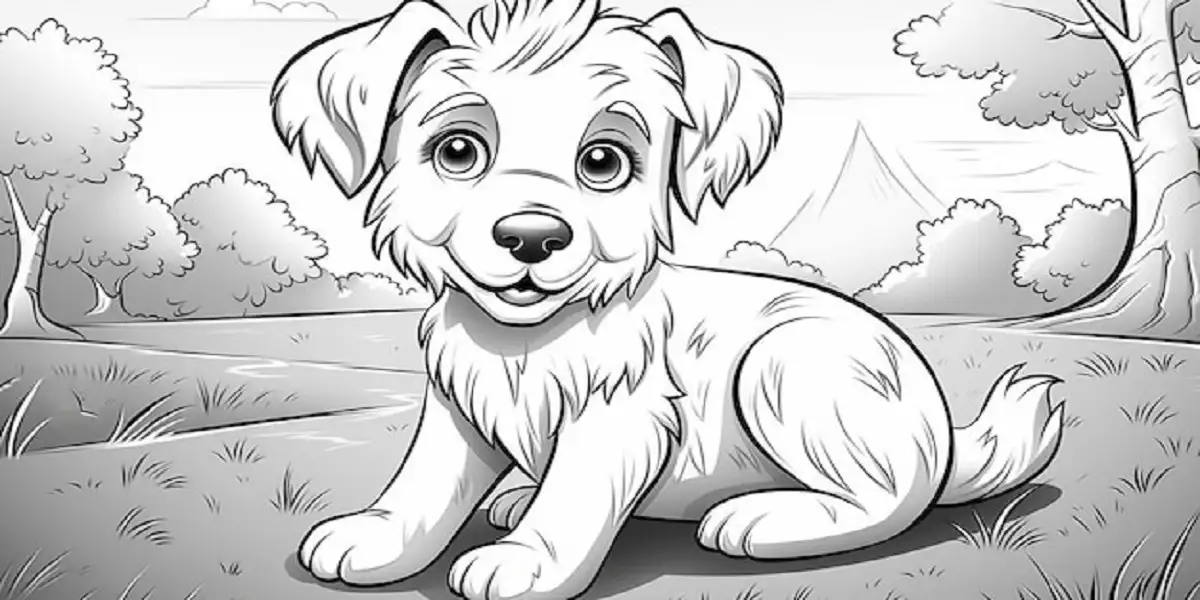
Drawing a dog can be a rewarding and enjoyable experience, whether you are an experienced artist or a beginner. This step-by-step guide will help you create a lifelike and charming dog drawing:iek1gnzs5p4= dog, covering everything from basic shapes to fine details. Let’s get started!
Materials You Will Need
Before diving into the drawing process, gather the necessary materials. You will need:
- Pencils (HB, 2B, 4B, and 6B)
- Eraser
- Sharpener
- Drawing paper
- Reference images of dogs
- Optional: colored pencils or markers for adding color
Step 1: Choose Your Reference Image
Start by selecting a clear reference image of a dog. A good reference image will provide details on the dog’s proportions, fur texture, and other features. You can find reference images online, in books, or use a photograph of your own dog.
Step 2: Sketch the Basic Shapes
Begin your drawing:iek1gnzs5p4= dog by lightly sketching the basic shapes that make up the dog’s body. Use simple geometric shapes to outline the head, body, legs, and tail.
- Draw a circle for the head.
- Add an oval or rectangle below the head for the body.
- Sketch four lines for the legs, with circles at the ends to represent the paws.
- Draw a line extending from the body for the tail.
Step 3: Define the Head and Face
Refine the shape of the head by adding the snout, ears, and eyes.
- Extend the circle of the head forward to create the snout.
- Draw two triangular shapes on top of the head for the ears.
- Add two circles or ovals for the eyes.
- Draw a small oval for the nose at the end of the snout.
Step 4: Outline the Body and Legs
Refine the basic shapes of the body and legs to create a more accurate outline of the dog.
- Connect the head to the body with smooth lines, defining the neck and shoulders.
- Outline the legs, making them thicker and adding joints for the elbows and knees.
- Shape the paws by adding small ovals at the ends of the legs.
- Draw the tail, using the reference image to determine its shape and position.
Step 5: Add Fur Texture
Now that you have the basic outline of the dog, start adding fur texture to make the drawing more realistic.
- Use short, light strokes with your pencil to create the appearance of fur.
- Follow the natural direction of the fur, which typically grows away from the head and body.
- Vary the length and density of the strokes to create a natural look.
Step 6: Refine the Face
Focus on the details of the dog’s face to bring your drawing:iek1gnzs5p4= dog to life.
- Draw the pupils within the eyes, leaving a small white spot to create a reflective look.
- Add eyelashes and eyebrows if the dog has them.
- Sketch the fur around the eyes and snout, paying attention to the direction and length of the fur.
- Add details to the nose, including nostrils and shading.
Step 7: Shade the Drawing
Shading adds depth and dimension to your drawing. Use different pencil grades to achieve various shades of gray.
- Start with an HB pencil to add light shading to the entire dog.
- Use a 2B pencil for darker areas, such as shadows under the ears, neck, and belly.
- Apply a 4B or 6B pencil for the darkest areas, like the inside of the ears, nostrils, and deep shadows.
- Blend the shading with a blending stump or your finger to create smooth transitions.
Step 8: Add Final Details
To complete your drawing, add any final details and make adjustments as needed.
- Refine the fur texture, adding more strokes and details where necessary.
- Enhance the shading to create more contrast and depth.
- Check the proportions and symmetry, making any corrections.
- Erase any remaining construction lines and smudges.
Optional: Add Color
If you want to add color to your drawing, use colored pencils or markers.
- Lightly layer colors, starting with the lightest shade and gradually adding darker shades.
- Blend the colors smoothly to avoid harsh lines.
- Pay attention to the fur pattern and natural colors of the dog.
Tips for Drawing Dogs
- Practice regularly to improve your skills.
- Study different dog breeds to understand their unique features.
- Experiment with different pencil techniques and shading methods.
- Use a light touch when sketching to make erasing easier.
- Be patient and take your time to achieve the best results.
Conclusion
drawing:iek1gnzs5p4= dog a requires observation, patience, and practice. By following these steps, you can create a beautiful and realistic dog drawing. Remember to use reference images, focus on basic shapes, add details gradually, and practice regularly. With time and effort, your dog drawings will improve and become more lifelike. Happy drawing!
One thought on “Drawing:iek1gnzs5p4= dog: A Step-by-Step Guide”
Comments are closed.